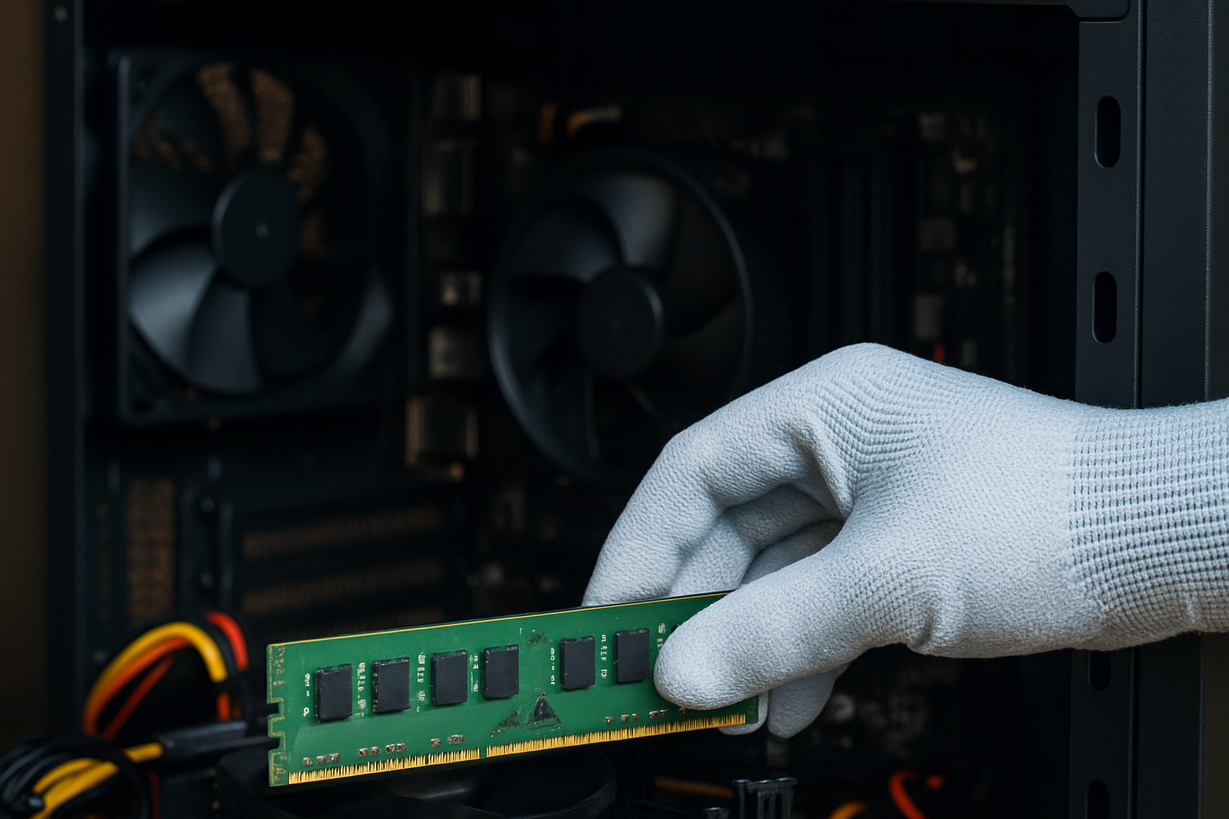
How to Install Memory in PC – DIY Upgrade Guide

Installing memory in your PC is a straightforward process that can significantly enhance your computer’s performance. By learning how to install memory in PC step-by-step, you’ll improve speed, multitasking ability, and extend the life of your system.
Whether you’re a gamer, a content creator, or just want a snappier computer, installing RAM in your computer is one of the most cost-effective upgrades. In this guide, you’ll learn how to add memory to PC systems safely and correctly — even if it’s your first time. As a PC hardware specialist with years of DIY experience, I’ll walk you through the essentials so you can feel confident.
We’ll cover how to identify compatible memory, prepare your system, perform the random access memory installation, and check if everything works — all in easy-to-follow steps.
Why Upgrade Your PC’s RAM?
Upgrading RAM improves your computer’s ability to handle more tasks at once. You’ll notice:
- Faster response times when switching programs
- Improved performance in games or creative applications
- Less lag when multitasking
If your PC struggles with basic tasks or loads slowly, it may be time to install memory in your PC.
Step 1: Check What RAM Your System Supports
Before buying RAM, you’ll need to identify what your motherboard supports.
Here’s how to check:
- Look up your motherboard model and see whether it supports DDR3, DDR4, or DDR5.
- Confirm the maximum RAM capacity (e.g., 32GB, 64GB).
- Identify how many RAM slots you have (usually 2 or 4).
You can use tools like PCMemoryFinder.com to search for compatible RAM by brand, price per GB, form factor (DIMM or SO-DIMM), memory speed, and more. This makes it easy to find upgrade options that will work for your machine.
Step 2: Power Down and Prepare
Safety first. Here’s what to do before installing:
- Shut down your PC and unplug all cables.
- Press the power button for 5–10 seconds to discharge static electricity.
- Open the case using a screwdriver (most towers have screws at the back).
- Wear an anti-static wrist strap or ground yourself by touching a grounded metal surface.
Step 3: Locate and Remove Existing RAM (If Needed)
Look for the RAM slots — usually near the CPU cooler. If you need to remove old RAM:
- Push down both clips on the sides of the slot — the RAM module will pop up slightly.
- Gently pull the module out from the slot.
Step 4: Install the New RAM
Follow these steps to install memory in PC slots:
- Line up the notch on the RAM module with the ridge in the RAM slot.
- Insert the module into the slot at a straight angle.
- Press down evenly on both ends until the clips click into place.
Tip: If your motherboard supports dual-channel, install matched RAM sticks in the correct slots (often marked in color pairs like DIMM A1/A2 or B1/B2).
Step 5: Reassemble and Power On
- Close your PC case and screw the panel back on.
- Reconnect the power cord and peripherals.
- Power on the PC.
If everything was installed correctly, the system should boot normally.
Step 6: Verify RAM Installation
You’ll want to confirm that your new memory is recognized.
On Windows:
- Open the File Explorer
- Right-click on This PC → Properties
- Check Installed RAM under System → About → “Device specifications”
Or:
- Press
Ctrl + Shift + Escto open Task Manager - Click on the Performance tab → Memory
If you don’t see the correct amount, check that the modules are seated correctly and consult your motherboard manual for slot configuration.
Troubleshooting Tips
If the system doesn’t boot or you hear beeping:
- Reseat the RAM modules.
- Check for dust or misalignment.
- Verify module compatibility.
For additional help, check your motherboard’s error codes or user manual.
Related DIY Memory Upgrade Guides
- How to Upgrade RAM on Laptop for Better Multitasking
- PC Part Picker Guide: Build Your Custom Computer Step by Step
Conclusion: Ready to Boost Your PC?
Knowing how to install RAM in your computer gives you more control over its performance and longevity. Whether you’re upgrading from 8GB to 32GB, replacing slow modules, or maximizing your machine for gaming or work, this DIY task pays off.
Need help choosing the right RAM? Browse PCMemoryFinder.com to explore and filter options based on your budget, capacity, and compatibility. Let your next memory upgrade be smarter — and faster.
Meta Description:
Learn how to install memory in PC with this step-by-step DIY guide. Improve performance by installing RAM the right way. Ideal for PC users, gamers, and home builders.